Tips for Applying Self-Adhesive Wallpaper
SO YOU’RE READY TO GIVE YOUR WALLS A MAKEOVER WITH PEEL AND STICK WALLPAPER?
Here’s everything you need to know to easily apply your new Canvas n’ Decor self-adhesive wallpaper.
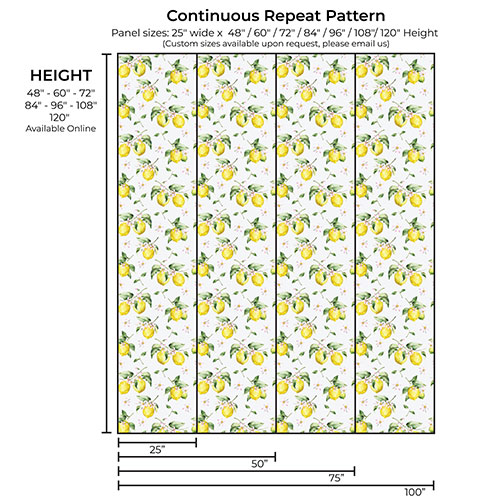
CONTINUOUS REPEAT PATTERNS
Wallpaper designs usually have a repeating pattern or graphic.
Ensuring each panel is properly aligned is essential to the wallpaper’s overall look.
Here’s a depiction of wallpaper that’s properly lined up – each panel flows seamlessly with the next.
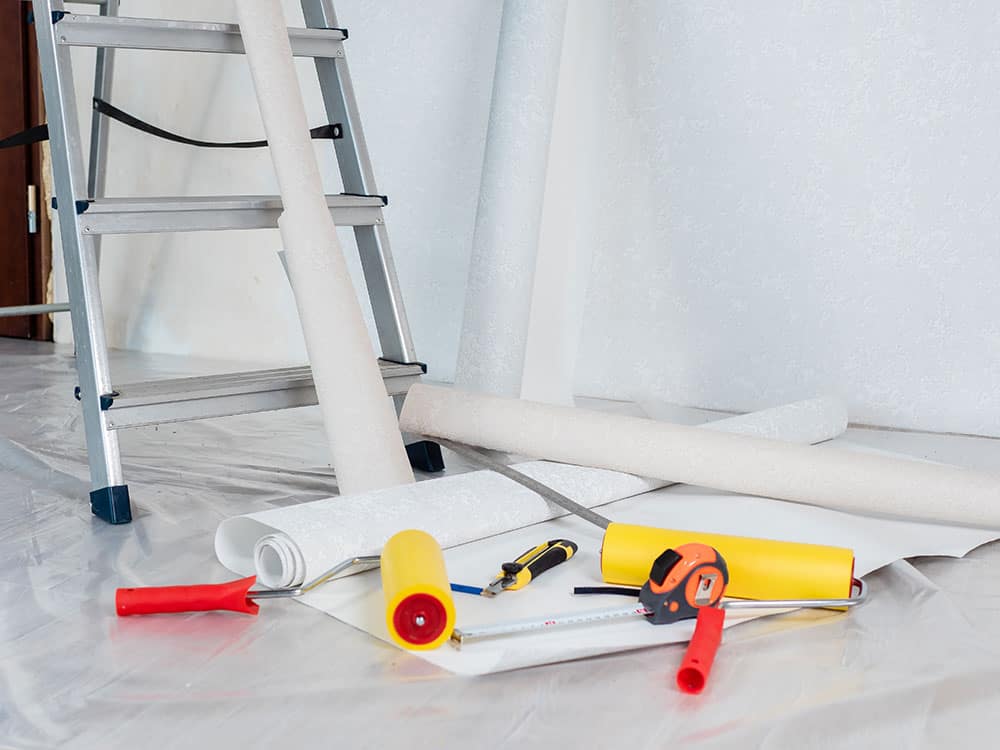
1. GRAB THE TOOLS YOU’LL NEED
- Pencil
- Steel ruler or straight edge
- Tape measure
- Level or plumb bob
- Plastic smoother
- Razor Knife (with a sharp blade)
- Step ladder or step stool
2. PREP YOUR WALLS
For best results, apply your removable wallpaper to a clean, dry, smooth surface.
If needed, patch any large dents and sand any noticeable bumps or texture until smooth.
Turn off your breaker and remove all faceplates and socket covers.
Wipe your walls to remove any dust or dirt. If possible, use warm water only. If soap or a chemical cleaner is needed, ensure there’s no residue left behind. Allow your walls to fully dry.
If your walls are freshly painted, wait at least 30 days until the paint is fully cured before applying removable wallpaper (or longer, if recommended by the paint manufacturer.)
3. UNROLL YOUR WALLPAPER
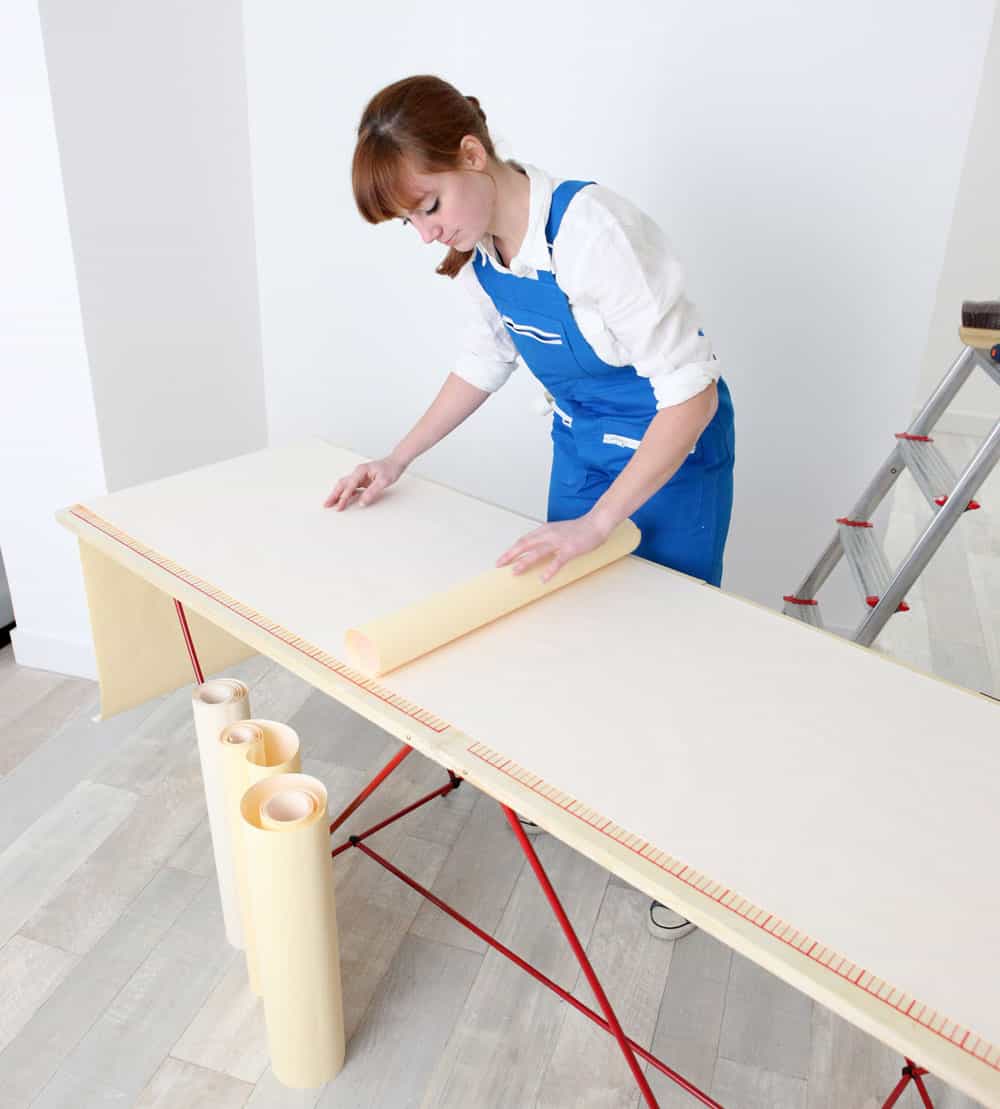
Unroll your wallpaper and separate the panels.
Canvas n’ Decor wallpapers are repeating patterns and can be installed in any order. However, you’ll want to ensure you know which side is the top and which is the bottom.
You may find it helpful to mark “T” for top on the removable plastic backing of each strip.
If needed, revisit your wallpaper product page for a reference photo of your completed design.
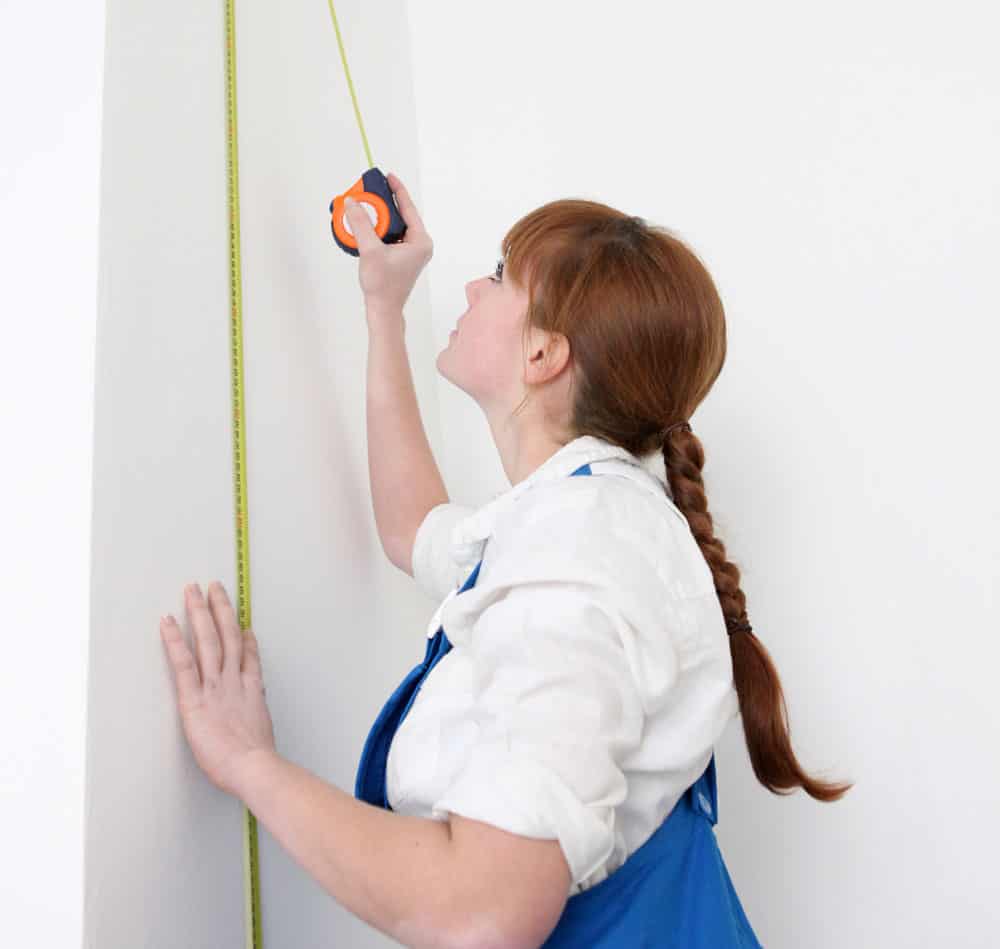
4. MARK A PLUMB LINE
Canvas n’ Decor wallpapers are 23.5 inches wide.
If you’re wallpapering a regular space, use your pencil and plumb bob or level to draw a straight, vertical line 23.5 inches from the left-hand side of your wall.
If you’re wallpapering a feature wall, you’ll want to ensure symmetry. Therefore, use your pencil and plumb bob or level to draw a straight, vertical line down the centre of your wall.
This line will act as a guide for applying your first strip. It’s essential for it to be straight.
5. BEGIN BY APPLYING YOUR FIRST PANEL
Peel about 12 inches of the plastic backing away from the wallpaper.
Position the panel high enough to overlap the ceiling line by about an inch or two (you’ll trim off this excess later).
With your helper’s assistance, align the right side of the strip to your plumb line. You can reposition if needed to ensure the seam is straight. Once properly positioned, press the wallpaper against the wall and slowly peel and stick the full panel down the wall, from top to bottom, ensuring it’s straight against your plumb line and removing the plastic backing as your go.
For best results, have one person guide the paper at the top and along the seam, while another holds the opposite edge away from the wall until the seams are lined up.
Using a plastic smoother, work your way down the panel in a back and forth motion, getting rid of any air bubbles, to create an even look while ensuring optimal adhesion.
Then, trim excess material at the ceiling and baseboard with a straight edge and razor knife. Make sure the knife’s sharp to make a clean cut.

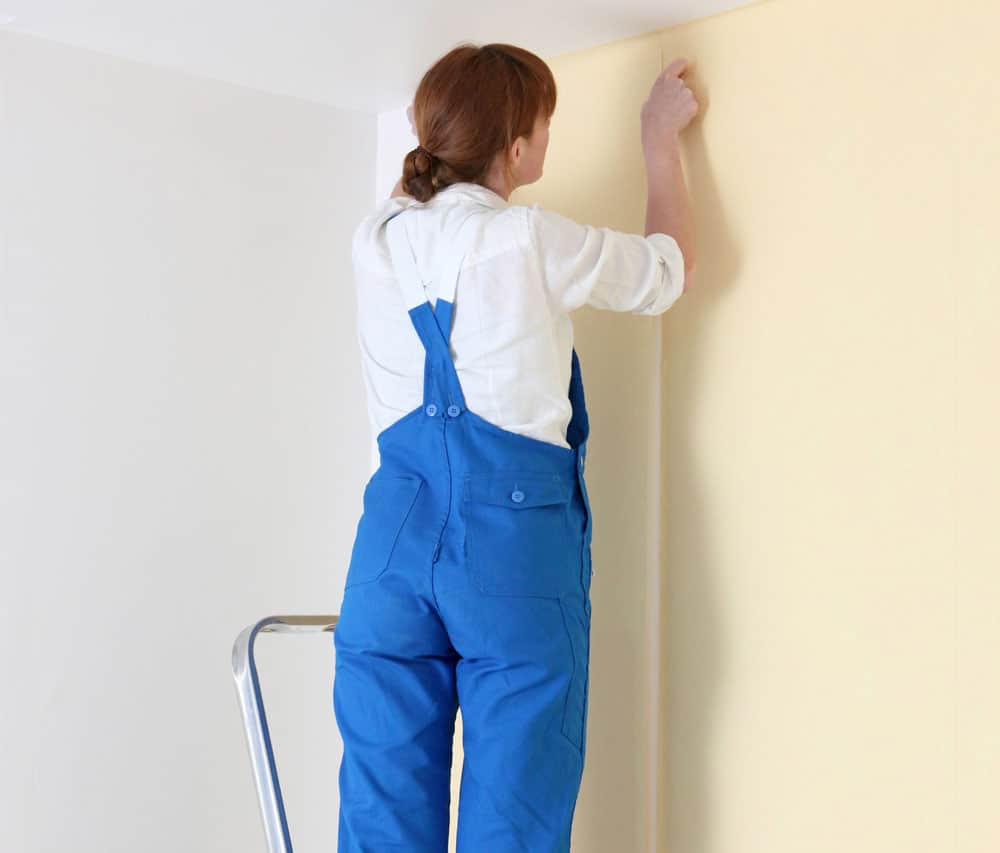
6. REPEAT THE PROCESS FROM STEP 5
7. STEP BACK AND ADMIRE
Woohoo – you did it. Take a step back, pat yourself (and your helper) on the back and take in the beauty of your stunning new Canvas n’ Decor peel and stick wallpaper!